


Bee Hive Removal Cost: What Actually Happens On the Day
Bee hive removal cost depends mainly on three things: how large the hive is, how accessible it is, and whether it’s exposed or built into a structure like a wall or roof void. A small, easily reached hive costs less than one requiring roof access, ladder work, or opening up a wall, and pricing should always follow a free inspection, never a phone guess.
4K Pest Control provides licensed bee and wasp removal across Bradford, Newmarket and the GTA.
If you’ve found a beehive on your property, the two questions everyone asks are “how much is this going to cost” and “what actually happens.” Here’s an honest answer to both.
What affects the cost
Size of the hive. A newly established hive with a small comb structure is a different job from a mature hive that’s been building for a season or more. Size affects both the time on site and, where relocation is possible, how much comb and how many bees need to be safely moved.
Access. A hive in an open shrub or low fence post is straightforward. A hive under roof eaves, inside a chimney, or behind exterior siding requires ladder work, protective equipment, and more time, and that’s reflected in the price.
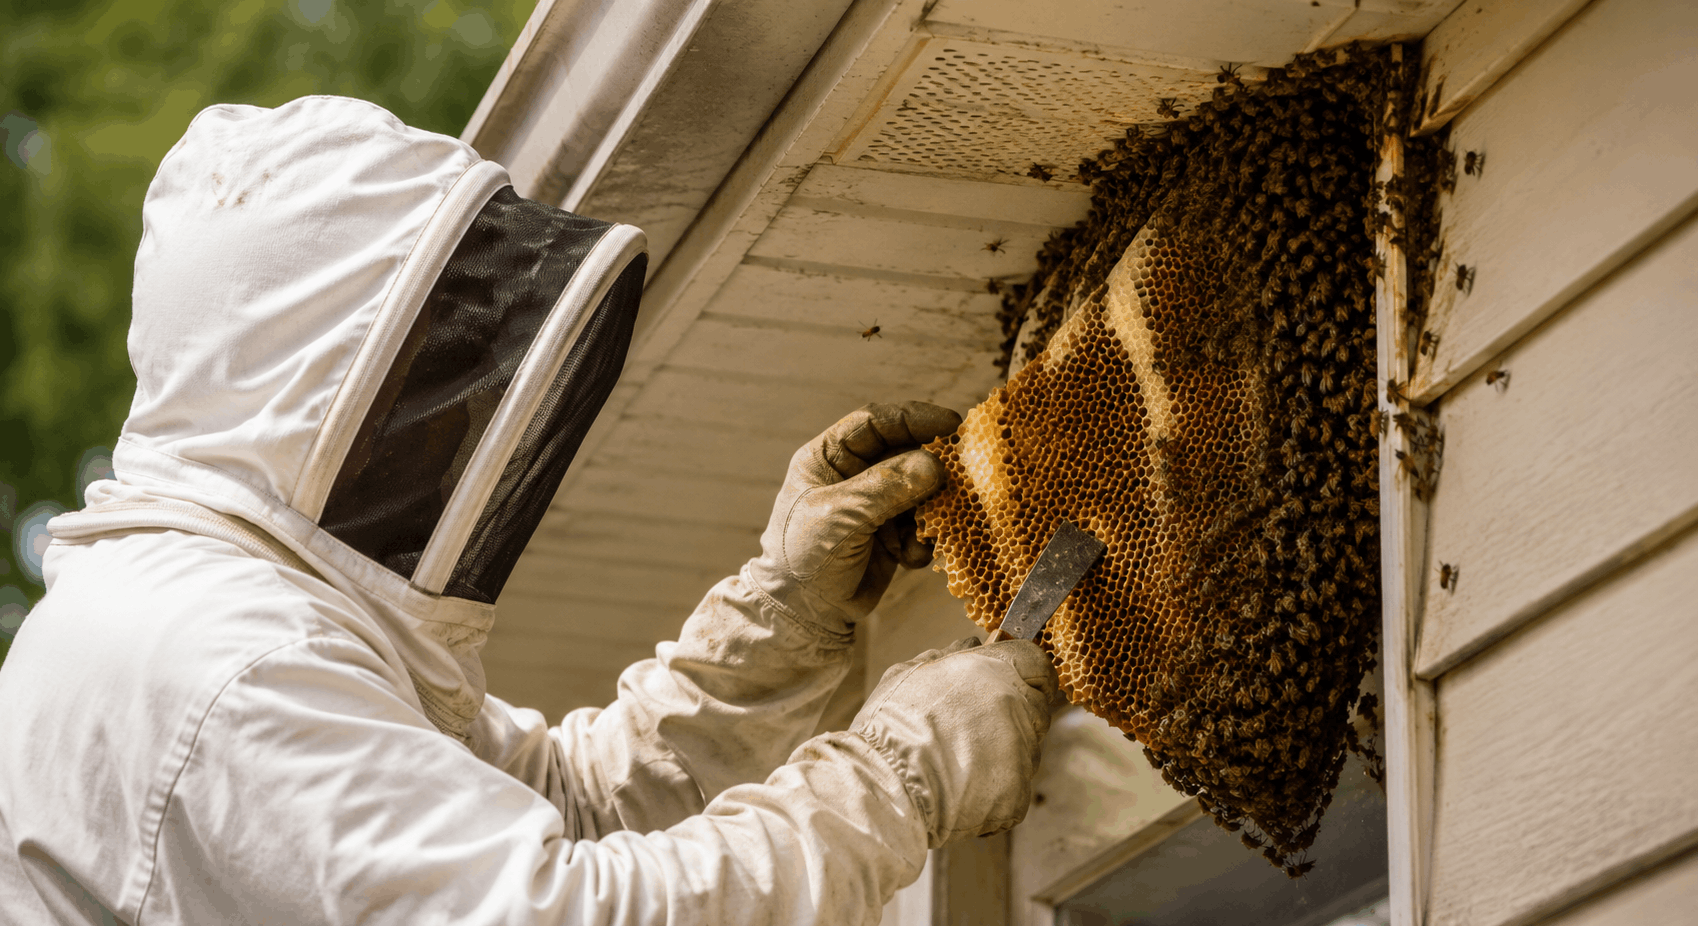
Exposed vs. structural. This is usually the biggest single factor. An exposed hive can often be removed and relocated as a unit. A hive built inside a wall cavity, soffit, or attic space usually means opening up part of the structure to reach the comb properly, which is a more involved job than removing something sitting in the open.
Whether it’s a removal or a full relocation. Because honeybees are protected pollinators, a genuine honeybee hive is typically relocated rather than exterminated see the note on that below. Relocation, done properly, takes more care and more time than simple extermination would, but it’s the right approach both ethically and often legally.
[4K Pest Control team: insert your typical price range here, e.g. “Most residential bee hive removals in our service area range from $X to $Y, with the final quote confirmed after a free on-site inspection.” Avoid publishing a number pulled from a general industry average — use your own real pricing.]
The inspection
Every proper removal starts with someone actually looking at the hive in person, not quoting from a phone description. During the inspection, the technician confirms:
- What species is actually present, this matters because the approach for honeybees differs from other bee species and from wasps entirely (see the identification guide linked below if you’re not sure what you’re looking at)
- The size and likely age of the hive
- Exactly where it’s located and how it’s accessed, exposed, structural, at height, near an entry point
- Whether removal alone is enough, or whether repair work will be needed afterward (patching a wall opening, replacing siding, sealing an entry gap)
This is also when you get an actual, specific quote rather than a range, which is the only honest way to price a job that varies this much from property to property.
Removal day, step by step
- Suiting up and securing the area. Protective equipment goes on first, and the immediate area is cleared of people and pets before anything else happens.
- Calming the colony. Rather than an aggressive spray-and-run approach, a proper removal typically uses smoke or a similar calming method first, which reduces the colony’s defensive response and makes the rest of the process safer for everyone, including the bees.
- Removing the comb. For a relocatable hive, the comb structure is carefully removed, kept intact where possible, and prepared for transport. For a structural hive — inside a wall or roof void — this step usually means opening the cavity enough to reach the comb properly, rather than trying to extract it through a small gap, which tends to damage the comb and leave residual material behind.
- Clearing residual bees. Even after the main colony is removed, some bees will still be returning to the site for a period afterward, drawn back by lingering pheromone traces. A proper job accounts for this rather than treating the visible removal as the finish line.
- Cleaning the cavity. This step gets skipped more often than it should. Leftover wax, honey, and debris left inside a wall or roof void can attract a new colony later, and can also lead to staining or odour as old honey breaks down. A thorough removal includes cleaning the space out, not just extracting the visible comb.
- Sealing and repair. Whatever gap allowed bees in originally gets sealed once the cavity is clear, otherwise you’re solving the immediate problem while leaving the door open for a repeat next season.
Cleanup and follow-up
After removal, expect a short follow-up window where a small number of returning bees may still show up at the old entry point before giving up and dispersing. This is normal and temporary, not a sign the job wasn’t done properly. A reputable company will explain this upfront rather than let it look like a failed treatment.
If structural repair was needed a patched wall section, replaced siding, or a resealed soffit should be part of the original quote, not an unexpected add-on afterward.
When it’s covered by a guarantee
A written guarantee should cover the colony not returning to the same site within a defined period, and it should be given to you in writing before work starts, not promised verbally and left undocumented. If a company won’t put the guarantee terms in writing, that’s worth treating as a red flag regardless of price.
A note on honeybees specifically
Because honeybees are beneficial pollinators, the right approach for a genuine honeybee hive is relocation by someone equipped to do that properly, not extermination. If what you’re looking at turns out to be wasps or hornets rather than bees, the situation and the urgency can be quite different. If you’re not certain which one you have, it’s worth confirming before deciding how quickly you need to act.
Cost drivers at a glance
|
Factor |
Lower cost |
Higher cost |
|---|---|---|
|
Hive size |
Small, newly established |
Large, mature colony |
|
Access |
Ground level, open shrub or post |
Roof height, chimney, requires ladder work |
|
Location type |
Exposed, freestanding |
Inside a wall, soffit, or attic void |
|
Structural work needed |
None |
Opening and repairing a wall or roof section |
|
Approach |
Removal only |
Full relocation of comb and colony |
Frequently asked questions
Is bee hive removal more expensive than wasp nest removal? It can be, mainly because a genuine honeybee hive is usually relocated rather than exterminated, which takes more time and care than a straightforward wasp treatment. The exact difference depends on the specific job, which is why an in-person quote matters more than a general comparison.
Can I get an accurate quote over the phone? Not a fully accurate one. Access, hive size, and whether the hive is exposed or structural all affect price significantly, and none of those are reliably assessable without someone actually looking at the site. A phone estimate is a starting range at best.
Will removing a hive damage my wall or roof? If the hive is structural, some opening of the cavity is usually necessary to remove the comb properly and clean the space — attempting to extract everything through a small existing gap tends to cause more damage, not less. Any repair work should be quoted upfront as part of the job, not treated as a surprise afterward.
How long does a bee hive removal take? A straightforward, exposed hive can often be handled in under an hour. A structural removal requiring cavity access, comb removal, cleaning, and sealing takes considerably longer, sometimes requiring more than one visit for repair work.
Do you kill the bees or relocate them? Because honeybees are protected pollinators, a confirmed honeybee hive should be relocated rather than exterminated. This is both the responsible approach and, in many cases, the expected practice for a professional operator.
Not sure whether what you’re looking at is a beehive or a wasp nest? Our identification guide breaks down the difference. If you think the situation might be urgent — near a doorway, already disturbed, or a household member with a sting allergy- start with our guide on when it’s a genuine emergency. For a free, in-person quote anywhere in Bradford, Newmarket, or the GTA, 4K Pest Control offers licensed wasp and bee nest removal — call (437) 908-4614.
beehive removal services.